Hexo大结局——本篇作为折腾hexo的最后一篇,本文写完就再也不折腾hexo了。(不过可以折腾一下Typecho,Hugo,WordPress)
如何跳过hexo的渲染
查看官方文档页面跳过hexo的渲染主要有两种方式:
Front matter
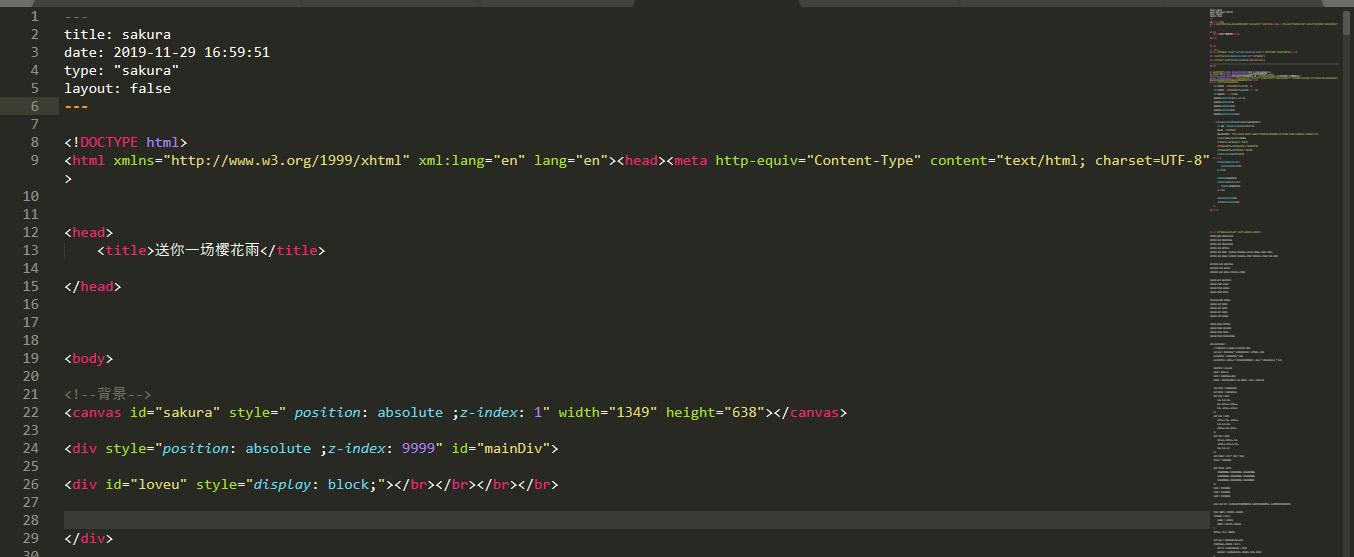
新建页面,然后将你的代码直接写入
index.md中在Front matter中添加
layout: false,例如我的Sakura樱花雨页面,此方法适用于单一的纯HTML
css页面。1
2
3
4
5
6---
title: sakura
date: 2019-11-29 16:59:51
type: "sakura"
layout: false
---
skip_render
- 如果页面含有复杂的js,layout的方式可能容易报错,因此利用hexo自带的
skip_render - 在根目录【根目录】的_config.yml,你可以看到
skip_render,大致在32行。写入你想要的跳过渲染的路径,例如我的烟花-CodePen页面:
1
2
3
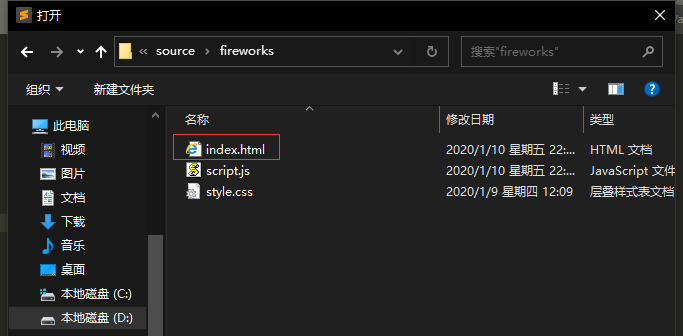
skip_render:
- 'fireworks/*'
- 'fireworks/**'
注意缩进和空格,解释一下:
'fireworks/*'表示在目录source/fireworks下的文件全部跳过渲染,'fireworks/**'表示在目录source/fireworks/文件夹下的文件全部跳过渲染(例如页面的js、css在另一个文件夹中)。这里有点重复了,只为了你能看明白。Hexo最终是把
md渲染为HTML页面,所以既然跳过渲染,那页面就只写入HTML。如图,将新建页面的index.md直接改为HTML(注意调整css)
可以混用
都是跳过渲染,当然可以混用
例如我的小圆点页面,两种方法混用
修改md为HTML,直接写入HTML,并在Front matter中利用
layout: false
跳过渲染若采用第二种方法,在根目录【根目录】的_config.yml添加
1
2
3
skip_render:
- 'dot/*'
- 'dot/**'

文章中直接嵌入HTML
既然md最终会被渲染为HTML,那直接写HTML当然是可以的,但只能以文章形式展示,而不是新的页面
例如我在这嵌入一个颜色表,HTML代码完整,前后换行留空即可
颜色名 十六进制颜色值 颜色 SteelBlue #4682B4 rgb(70, 130, 180) Tan #D2B48C rgb(210, 180, 140) Teal #008080 rgb(0, 128, 128) Thistle #D8BFD8 rgb(216, 191, 216) Tomato #FF6347 rgb(255, 99, 71) Turquoise #40E0D0 rgb(64, 224, 208) Violet #EE82EE rgb(238, 130, 238) VioletRed #D02090 rgb(208, 32, 144) Wheat #F5DEB3 rgb(245, 222, 179) White #FFFFFF rgb(255, 255, 255) WhiteSmoke #F5F5F5 rgb(245, 245, 245) Yellow #FFFF00 rgb(255, 255, 0) YellowGreen #9ACD32 rgb(154, 205, 50)
永久链接
默认链接
默认的链接格式为
1 | year/:month/:day/:title/ |
如果文章名是中文,由于编码生成的链接会很长,况且不利于SEO
利用字段替换链接
根据官方文档 hexo.io/docs,可以利用一个字段定义永久链接
| 变量 | 描述 |
|---|---|
| :year | 文章的发表年份(4 位数) |
| :month | 文章的发表月份(2 位数) |
| :i_month | 文章的发表月份(去掉开头的零) |
| :day | 文章的发表日期 (2 位数) |
| :i_day | 文章的发表日期(去掉开头的零) |
| :hour | 文章发表时的小时 (2 位数) |
| :minute | 文章发表时的分钟 (2 位数) |
| :title | 文件名称 |
| :post_title | 文章标题 |
| :id | 文章 ID (not persistent across cache reset) |
| :category | 分类。如果文章没有分类,则是 default_category 配置信息。 |
例如:在front matter中加入id:xxxx
1 |
|
在hexo根目录加入或修改permalink
1 | permalink: posts/:id.html/ |
这样文章地址就会变为https://xxx.com/posts/id.html,无需插件也能设置永久链接。
abbrlink插件
项目地址:hexo-abbrlink
安装插件
1 | npm install hexo-abbrlink --save |
在根目录
blog\scaffolds\post.md中添加abbrlink字段(不加也行)根目录config.yml下设置
1 | permalink: posts/:abbrlink.html |
hexo clean之后本地预览时便可重新生成永久链接,文章front matter会多一个abbrlink字段
永久链接格式为https://xxx.com/posts/abbrlink.html
- 插件参数
1 | abbrlink: |
使用技巧
- 虽然abbrlink是自动生成的,可以在文章的front matter自定义修改。
- 以前用了hexo默认链接
year/:month/:day/:title/,安装插件插件后所有文章链接都会发生变化,那么评论怎么办?
对于我这样的小破站,好不容易才有几条评论,就这样丢失了心有不甘啊
想到了几个解决方案:
既然可以自定义abbrlink,那只要将根目录配置改为
1
2
permalink: :abbrlink
permalink_defaults:这样的话再把需要留下评论的页面front matter改回原来的链接格式
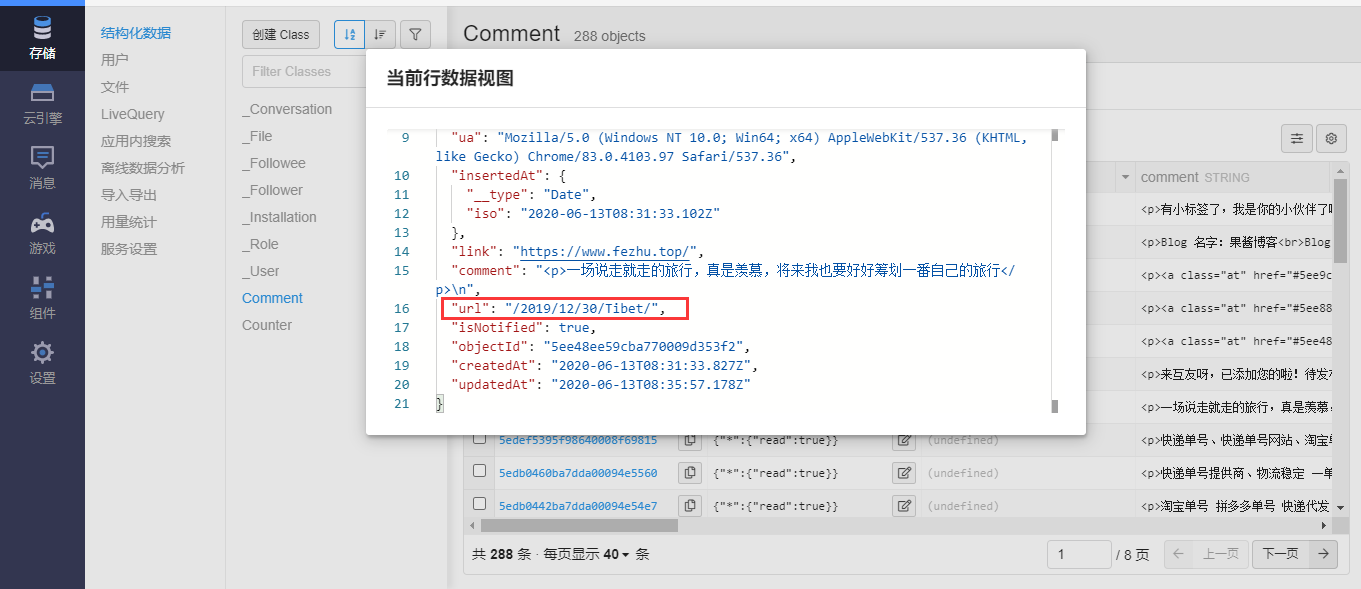
year/:month/:day/:title/,不仅仅是格式,日期名称也必须和原来保持一致群友提示,如果像我一样用的valine评论,可以直接在leancloud后台修改URL,valine绑定的相对路径,哪怕更换域名,只要保证文章链接一致,评论便可保留。
常用链接格式
| permalink | 格式预览 |
|---|---|
| :abbrlink/ | xxx.com/xxx |
| :abbrlink.html/ | xxx.com/xxx.html |
| posts/:abbrlink.html/ | xxx.com/posts/xxx.html |
| article/:abbrlink.html/ | xxx.com/article/xxx.html |
pinyin插件
- 将中文链接转拼音,安装插件
1
npm i hexo-permalink-pinyin --save
- 在 Hexo 根目录下的 _config.yml 文件中,修改以下的配置项:永久链接格式为
1
2
3
4
5
permalink: article/:title.html
permalink_pinyin:
enable: true
separator: '-' # default: '-'
permalink_defaults:https://xxx.com/posts/wen-zhang-ming.html - 实用性不是很好,如果标题文字很多,链接依然会很长。
如何在页脚养鱼
效果就在页脚,是不是很想要?这里简述butterfly主题的引入方法,其他主题类似,实在不行建议更换butterfly主题
!!!不要修改源码,若已修改请恢复原样
在主题配置的inject引入js: https://cdn.jsdelivr.net/gh/xiabo2/CDN@latest/fishes.js 即可
1
- <script src="https://cdn.jsdelivr.net/gh/xiabo2/CDN@latest/fishes.js"></script>
调整页脚阴影透明度themes\butterfly\source\css\_layout\footer.styl
1 | background-color: alpha($dark-black, .1) |
文章页页脚宽度多余导致出现横向滚动条,新建xxx.css,添加以下css引入inject即可(若设置了全局背景去掉固定高度height: 160px引入即可)
1 | /* 鱼塘固定宽度 */ |
修改源码实现方法(其它主题可参考此处)
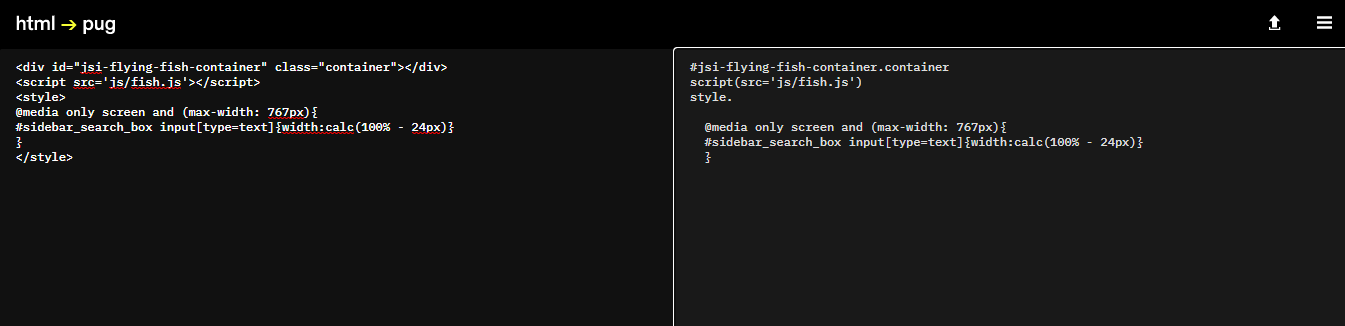
先将扒来的code转为pug
写进\themes\butterfly\layout\includes\footer.pug末尾1
2
3
4
5
6
7#jsi-flying-fish-container.container
script(src='js/fish.js')
style.
@media only screen and (max-width: 767px){
#sidebar_search_box input[type=text]{width:calc(100% - 24px)}
}然后在
inject引入js: https://cdn.jsdelivr.net/gh/xiabo2/CDN@latest/fish.js1
- <script src="https://cdn.jsdelivr.net/gh/xiabo2/CDN@latest/fish.js"></script>
引入之后效果如下,页脚太高,
themes\butterfly\source\css\_layout\footer.styl调整下css即可(补充:调整页脚阴影透明度为0.1)1
2
3
4
5
6
7
8
9
10
11
12
13
14
15
16
17
18#footer-wrap
position: absolute
padding: 1.2rem 1rem 1.4rem
color: $light-grey
text-align: center
left: 0
right: 0
top:0
bottom: 0
#footer
if hexo-config('footer_bg') != false
&:before
position: absolute
width: 100%
height: 100%
background-color: alpha($dark-black, .1)
content: ''另外,还是会出现报错,
引用JS报错Uncaught ReferenceError: $ is not defined
原因一:未引用jquery库jquery.min.js文件,或者说路径错误;解决办法:
很简单,引用jquery-X.X.X.min.js这个js路径文件到当前页面即可。<script src="https://cdn.bootcss.com/jquery/3.4.1/jquery.min.js"></script>
建议将js保存到本地引用<script src="你的路径/jquery.min.js"></script>
原因二:忽略了HTML中<script>引入jQuery文件的顺序,要把JQuery库的引用放到第一个<script>引用前面,这样顺序执行后面的js文件才能识别$。